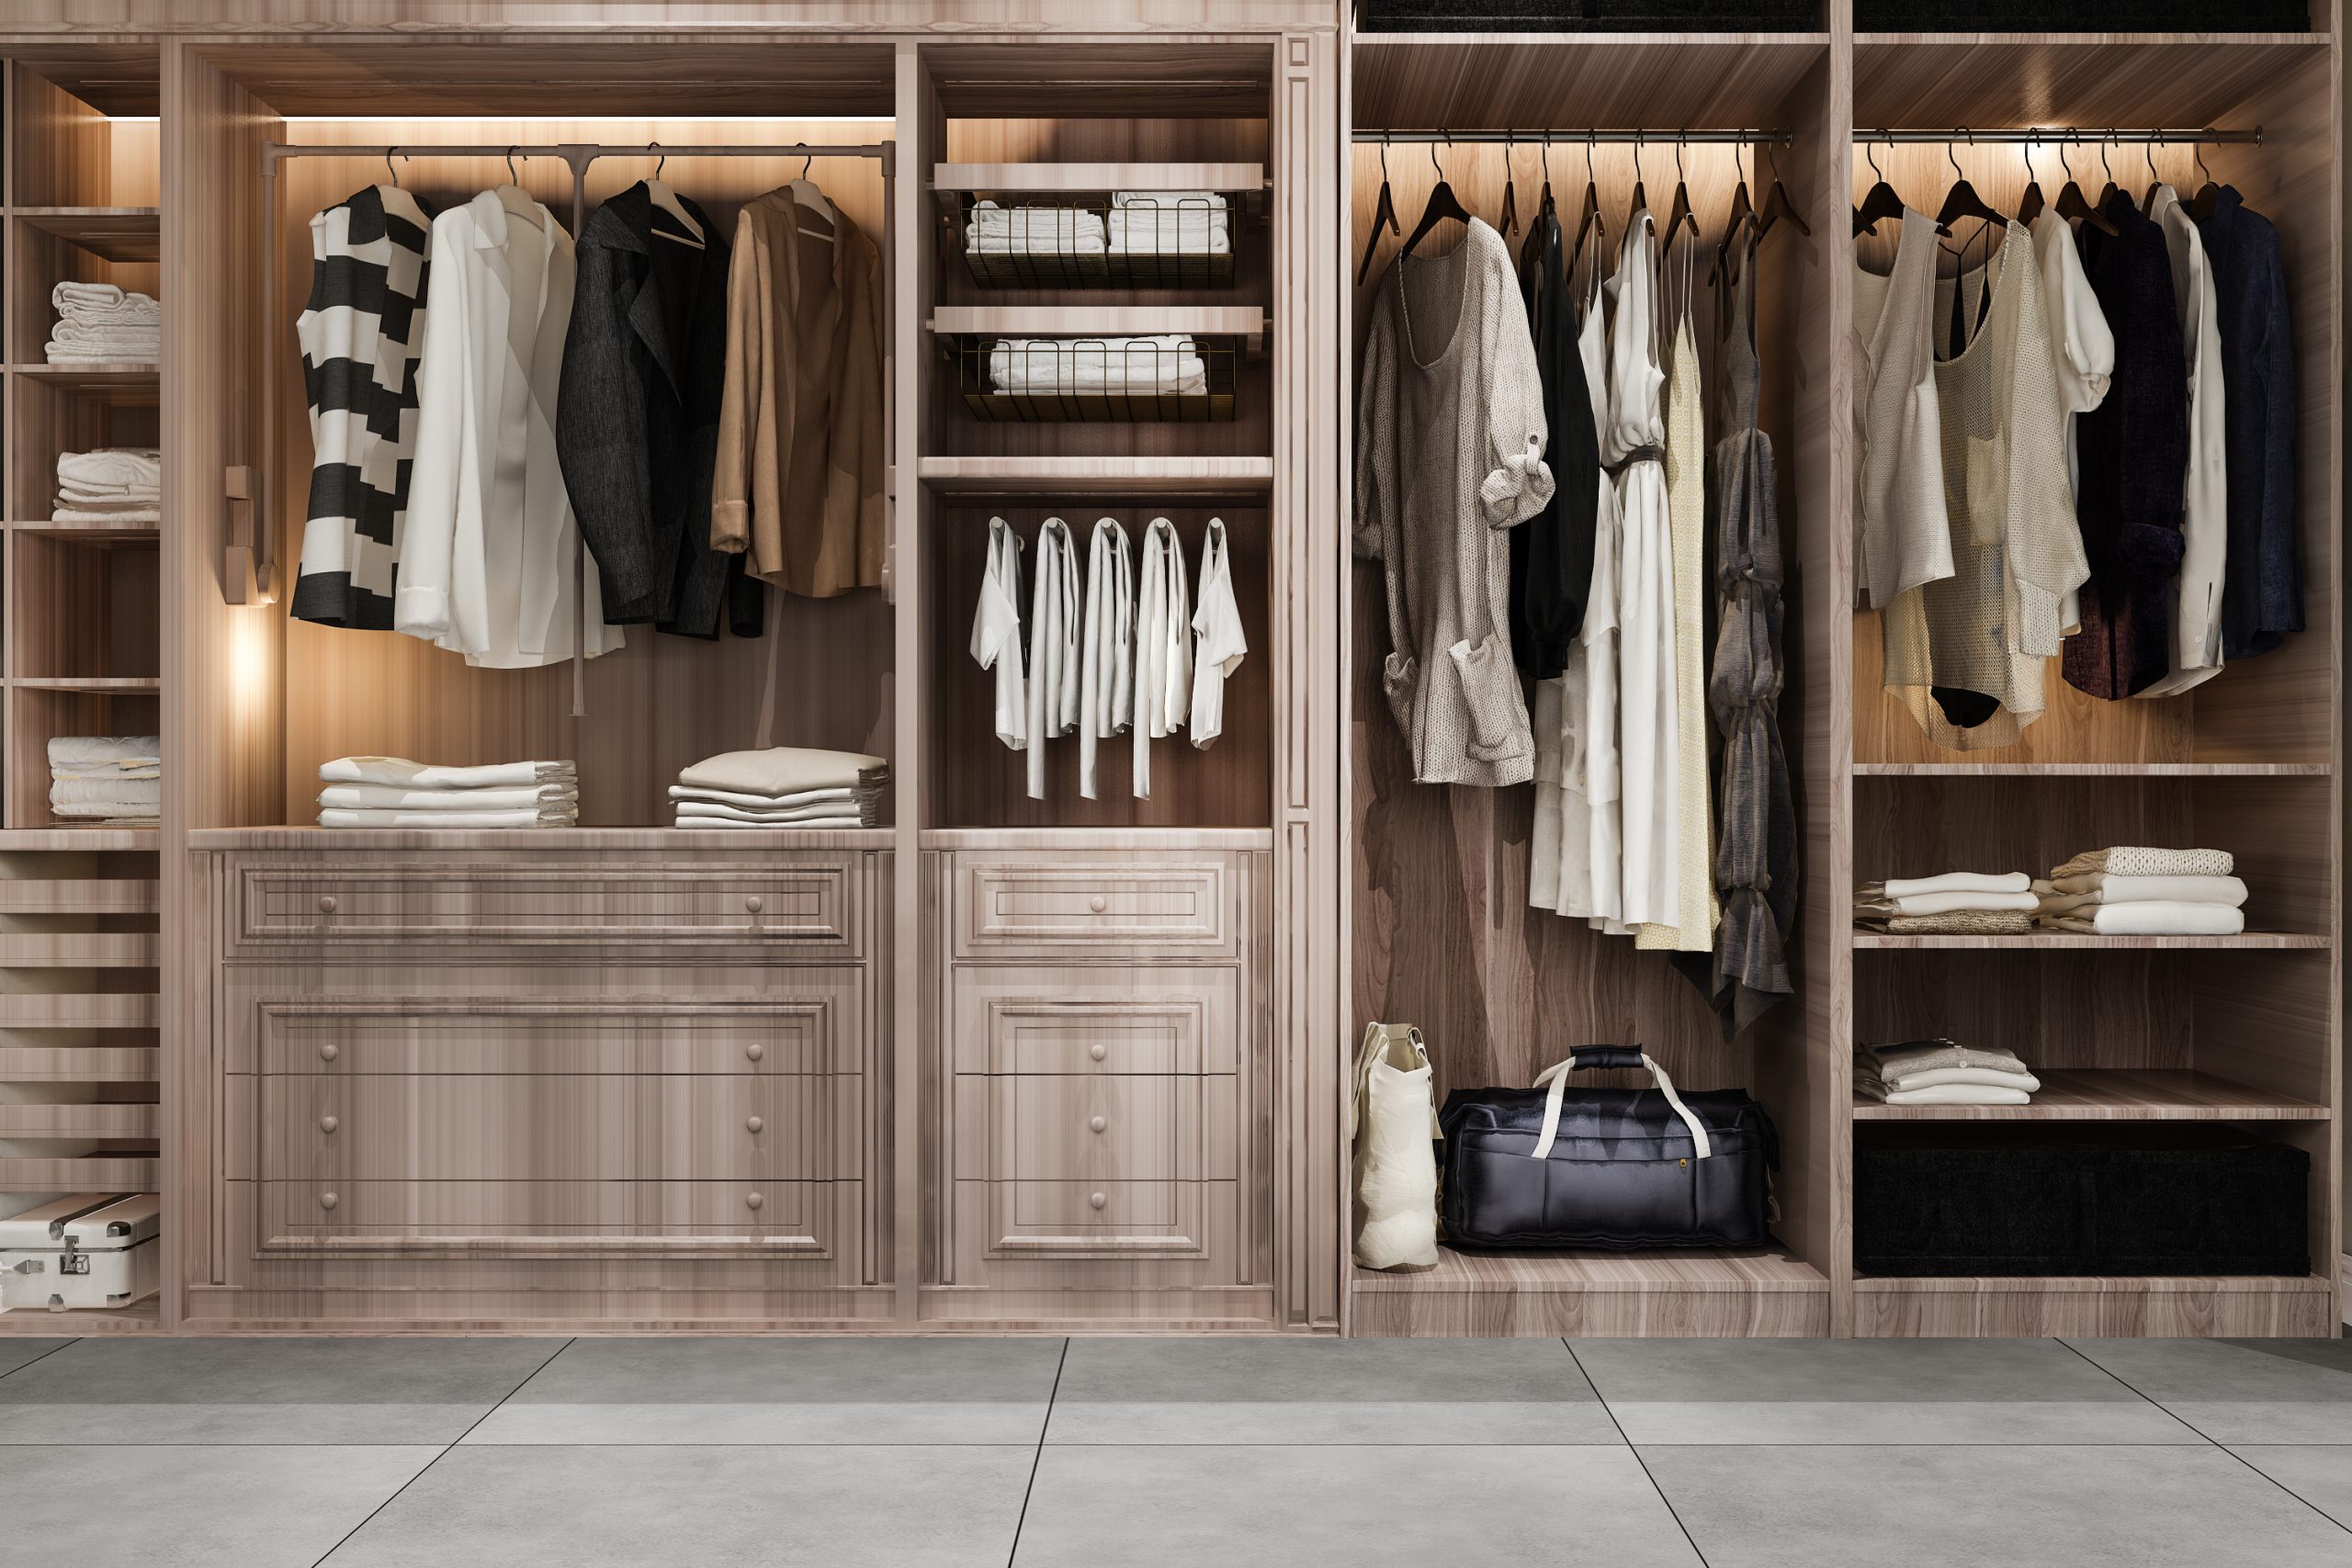
If your bedroom has that faint musty smell you just cannot seem to shift or you have noticed dark patches creeping along the back wall of your wardrobe, ventilation is likely to blame. Built-in wardrobes are brilliant for saving space, but the same tight fit that makes them so practical can also trap damp air and moisture, creating the perfect conditions for mould.
The good news is that most fixes are straightforward, and many can be done without replacing the wardrobe entirely.
Why Built-In Wardrobes Need Ventilation
Unlike freestanding wardrobes that allow air to circulate naturally around them, built-in wardrobes are fixed flush against walls on three sides. In the UK, where cold and damp weather is a fact of life, warm indoor air regularly meets cold wall surfaces, condensation forms, and without ventilation, that moisture has nowhere to go. Over time this leads to mould growth, a musty smell that transfers to your clothes, warped timber panels, and damage to leather goods and natural-fibre clothing.
Signs Your Wardrobe Needs Better Ventilation
If you notice any of the following, poor ventilation is likely the cause:
- A musty or stale smell when you open the doors
- Visible black, green, or grey patches on walls, shelves, or the back panel
- White powdery marks appearing on clothing
- Doors or drawers that have started sticking or feel damp
- Sneezing or allergy flare-ups when you open the wardrobe
- Condensation on internal surfaces on cold mornings
How to Ventilate Built-In Wardrobes
The fixes below cover both new installations and existing wardrobes, starting with the most impactful changes.
- Choose the Right Location: Avoid positioning a wardrobe against a north-facing or external wall where possible, as these surfaces are coldest and most prone to condensation.
- Use Vented Doors: Doors with built-in vents or louvres allow continuous air circulation, even when the wardrobe is closed. If your doors are solid, vent plates can be retrofitted by a joiner without replacing the whole unit.
- Leave Space at the Back: Ensure a 20 to 30mm gap between the back of the wardrobe and the wall to facilitate air movement. If your wardrobe is already fitted flush, drilling discreet holes in the back panel is a practical alternative and one of the most reliable ways to prevent moisture building up, particularly on external walls.
- Consider ventilated shelving. Wire mesh or perforated metal shelves allow air to move through the entire wardrobe rather than pooling near the doors. This is especially useful for shoes and folded knitwear.
- Open the doors regularly. Leaving them open for a few hours each week allows fresh air to replace the stale air inside. Simple, free, and genuinely effective.
- Install a small extractor fan. For wardrobes in damp rooms or against north-facing walls, a silent extractor fan makes a real difference. A humidity-triggered model means it only runs when needed.
Moisture Control Techniques
Good ventilation and moisture control work together. Ventilation moves the air, moisture control manages what is in it.
- Use Moisture Absorbers: Silica gel sachets, charcoal bags, or a compact plug-in dehumidifier will draw excess moisture from the air inside the wardrobe. Place them at the bottom where moisture tends to collect, and replace passive options every few months.
- Always Store Dry Clothes: This is one of the most common causes of wardrobe mould and one of the easiest to fix. Even clothes that feel dry can carry enough residual moisture to raise humidity in a closed space. Natural fibres like cotton and linen are particularly slow to release moisture, so give them extra drying time before hanging them up.
- Control Room Humidity: If the bedroom itself is damp, internal ventilation alone will not solve the problem. Aim to keep room humidity between 40 and 60 per cent and use a hygrometer to monitor levels. If damp keeps returning despite your efforts, a whole-room ventilation solution may be worth considering.
Material Choice and Wardrobe Design For Ventilation
The materials your wardrobe is built from make a genuine difference to how well it handles moisture. Solid hardwoods like oak and pine are more breathable than MDF or chipboard, which absorb moisture, swell, and degrade over time. If your wardrobe backs onto an external wall, lining the wall with a thermal board before installation significantly reduces condensation risk.
Bespoke providers across the UK, including those in Kent, can advise on materials suited to your home and wall position. If you are commissioning a new wardrobe, build ventilation into the system from the start. It is far cheaper than fixing problems later. Our space planning services can help you get the layout, materials, and ventilation right from the outset.
Long-Term Maintenance
Good ventilation needs a little upkeep to stay effective.
Keep the interior decluttered, aiming for two to three inches of space between garments on the rail. Overpacking restricts airflow and undoes much of the work ventilation does. Clean shelves and surfaces every few months with equal parts white vinegar and water, which kills mould spores without damaging wood. Apply the solution to any stubborn patches and let it dry fully before wiping.
Check vent plates regularly for dust blockages, and monitor humidity with a basic hygrometer. If levels creep above 60 per cent consistently, it is worth revisiting your ventilation setup.
Conclusion
Built-in wardrobes are a staple of UK bedrooms, but without proper ventilation they are also one of the more common sources of damp, mould, and musty smells in the home.
The steps in this guide, from rear gaps and louvred doors to moisture absorbers and material choices, give you a practical toolkit for keeping your wardrobe fresh and your clothes protected. Get the basics right and you will rarely need to think about it again.