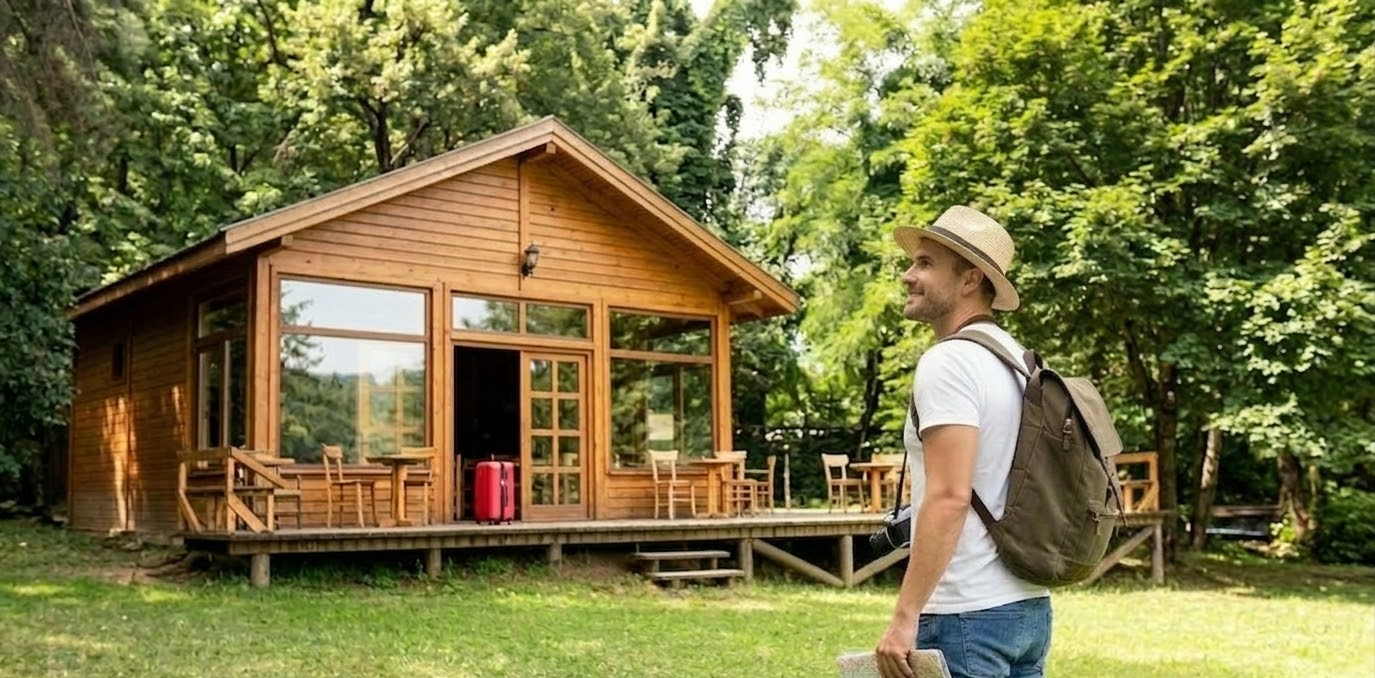
Imagine walking into your garden and finding a peaceful retreat. A summer house can turn your outdoor space into a useful getaway. Whether you want a quiet library, a fun gathering spot, or a workspace away from home distractions, it gives you extra room without the high cost of a traditional home extension.
In the UK, the value of outdoor space is very high right now. According to a report from Paving Shopper, there is a 22% rise in demand for homes with garden offices, driven by the ongoing trend of remote work. For many homeowners, a garden building is now a necessity for modern life, not just a luxury.
If you’ve been dreaming of a peaceful sanctuary in your backyard, like the ones you see on surreyhillsgardenbuildings.co.uk, building a summer house is the perfect way to transform that dream into a reality.
If you are ready to turn this vision into reality, this guide explains exactly how to build a summer house from the ground up.
Practical Steps to Build a Summer House
Here are some practical steps that you can take to build a summer house:
Step 1: Check the Rules Before You Build Anything
Most summer houses do not require full planning permission because they fall under Permitted Development Rights (PDR). However, there are some conditions: the building cannot cover more than 50% of your garden, it must not be in front of your main house, it should be no taller than 2.5 metres within 2 metres of a boundary, and it cannot be used as a separate home.
If your property is in a conservation area or a National Park, different rules apply. Check with your local planning authority first. For complete guidance, visit the official Planning Portal.
Step 2: Plan Your Summer House With Purpose
A common query that is asked at this stage is how much does it cost to build a summer house? The answer relies on size, materials, and whether you choose a DIY approach or hire a contractor.
Building a basic timber structure yourself costs around £3,000, while the cost of a fully insulated garden room with quality windows and professional installation ranges from £15,000 to £30,000.
If you are building a home office, you need insulation and power. A yoga studio should have plenty of natural light. A garden bar requires good ventilation. Understanding these requirements early will help with your future choices. Additionally, consider orientation: south-facing spots get the most sunlight during the day.
Step 3: Lay a Foundation That Lasts
Learning how to build a summer house step by step means treating the foundation as the priority, not an afterthought. A poorly prepared base can cause dampness, warping, and structural issues within a few years.
You have three main options:
- A concrete slab
- Paving slabs on compacted hardcore
- Pressure-treated timber bearers set in concrete
Timber bearers are good for uneven ground because they allow airflow under the floor. No matter which option you choose, the base must be level to within 5mm across its entire length.
Step 4: Build the Frame and Walls
Now that the foundation is set, framing begins. If you want to know how to build a summer house from scratch, this is the stage where the structure truly takes shape, and the structural integrity is established. Many garden buildings in the UK have a softwood timber frame covered with shiplap, tongue-and-groove boarding, or composite panels.
Use treated timber throughout, especially near the ground. For year-round use, insulate between the studs with mineral wool or rigid foam board. Cedar cladding looks good as it ages and keeps its finish well. Composite cladding is another low-maintenance option.
For a practical look at how a UK DIYer builds a summer house from scratch, this visual guide walks you through every stage, from laying the base to framing the walls.
Step 5: Choose the Right Roof and Glazing
The roof faces the worst of the UK weather. Felt roofing works well for flat or shallow designs and lasts 15 to 20 years. EPDM rubber lasts even longer, with many installers offering a 20-year guarantee. Green roofs provide extra insulation and look great from above.
For windows and doors, double glazing is a must for any areas used beyond summer. Bi-fold or French doors are ideal for south-facing walls. Install multi-point locks on all doors and window locks for security.
Step 6: Design the Interior and Finish the Exterior
Engineered timber flooring handles temperature changes better than solid wood. Use downlights, task lights, and warm accent lights in the evening. A small electric panel heater is usually enough for most needs. Ensure a safe, armoured cable runs from the house for power, and have a qualified electrician check the installation.
Outside, treat all timber cladding with exterior wood oil or stain, and reapply every 2 to 3 years. Add guttering to move rainwater away from the base. A deck or paved terrace outside the doors adds usable space in summer, and a simple gravel path connects the whole area.
For more layout and décor inspiration, take a look at this summer house interior guide for practical styling for every space type.
Conclusion
Building a summer house is a valuable project that adds usable space and enhances your property’s appeal. Start by understanding the planning regulations, laying a solid foundation, and choosing durable materials. With careful preparation, you can create a peaceful retreat just outside your door.
The effort is worth it for a private space to relax.
If you require design ideas or need help with projects, visit Cadmap Studio. We use cutting-edge CAD mapping technology to plan, design and create 3D Models for both residential and commercial spaces.